Hygiene barrier installation
Layout, water, drainage and power needs for hygiene barrier installation — a site-prep checklist.
Installing a hygiene barrier is mostly effortless when the site is prepared correctly: stainless steel units are generally delivered plug-and-play, on adjustable feet, and in most cases assembly requires no floor breaking or heavy construction. The real determinants are three utilities — a clean water supply, a wastewater drain and electricity (typically 220 V / 50 Hz). In this article we explain, from a manufacturer’s perspective, every step of the installation — from where to position the unit to the water, drain, power and floor requirements — along with a site-preparation checklist you can use before assembly.
What does hygiene barrier installation require?
Installing a hygiene barrier fundamentally requires four things: a suitable space for the unit, a clean water supply, a wastewater drain and an electrical connection. On simple lines without a washbasin — consisting only of disinfection and a turnstile — the need for water and a drain disappears; only electricity and space remain. In other words, the complexity of the installation depends on the configuration you choose.
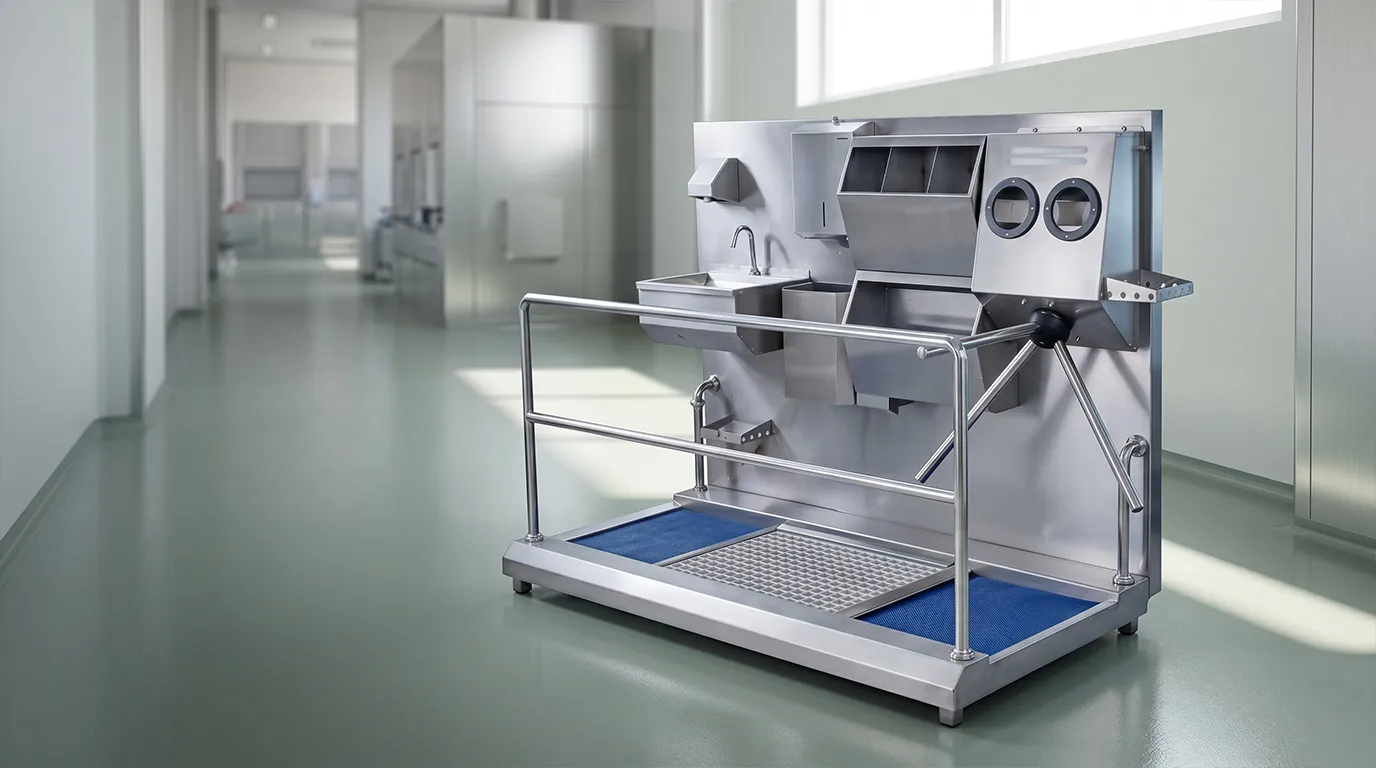
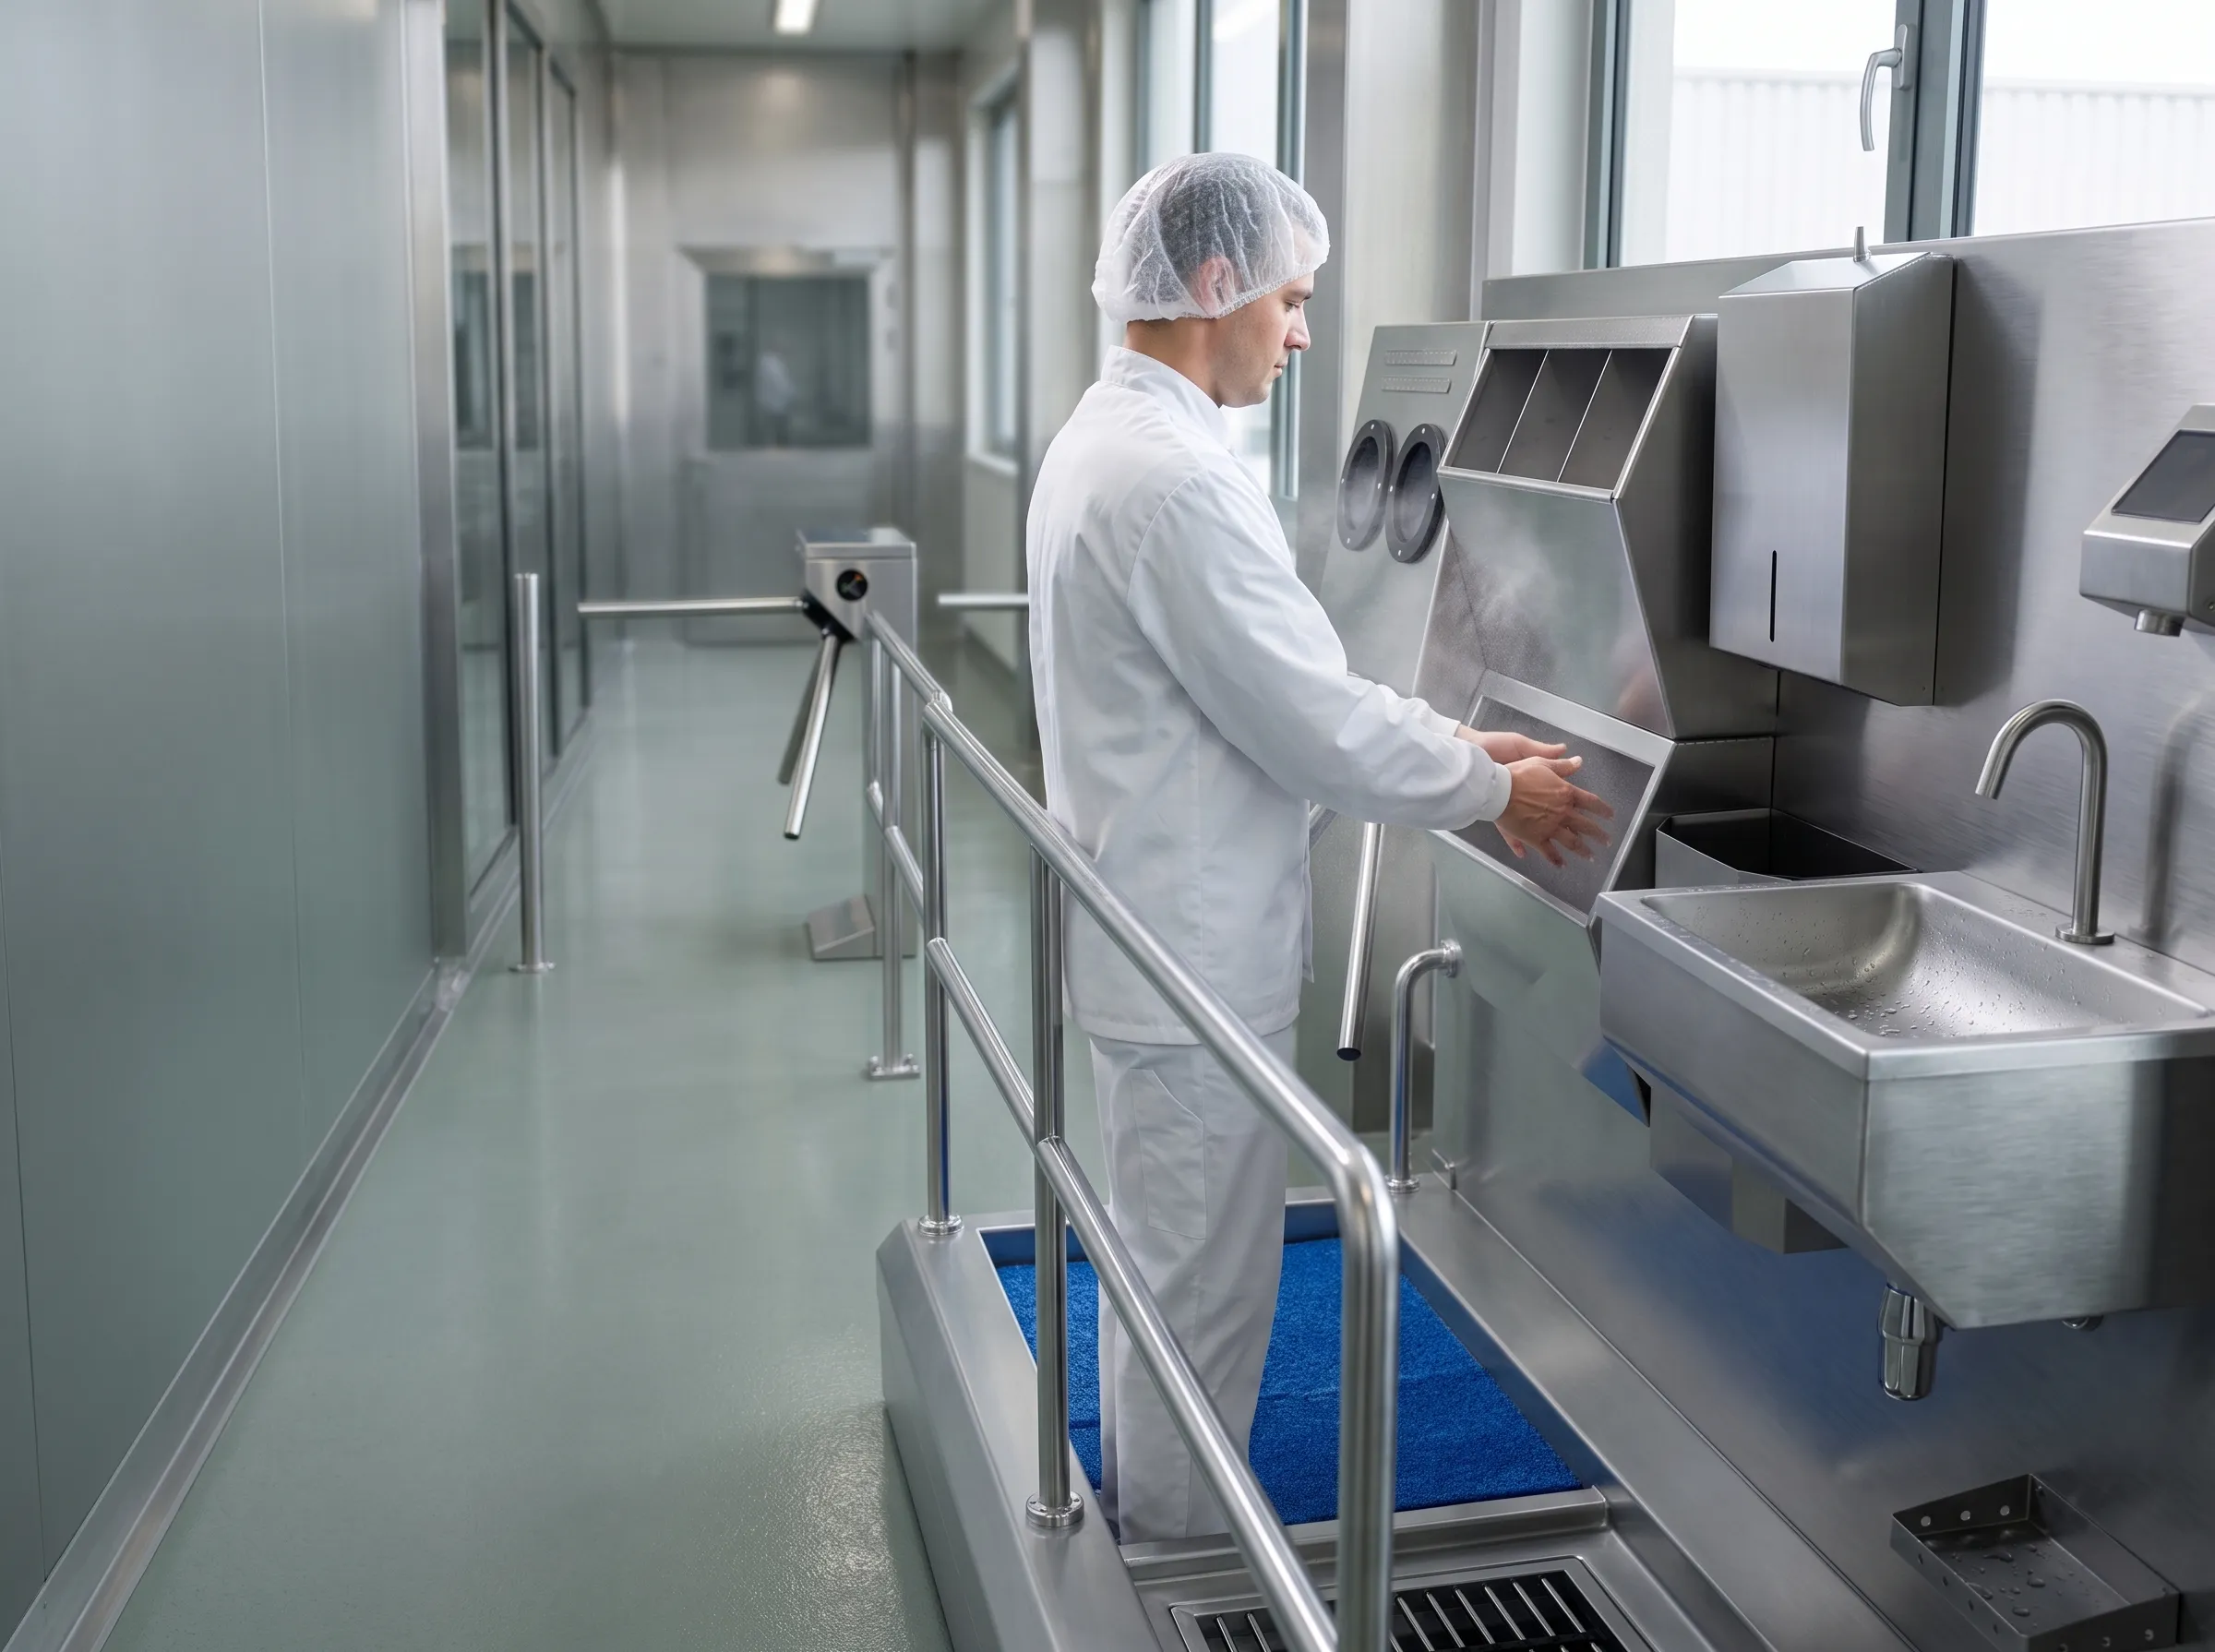
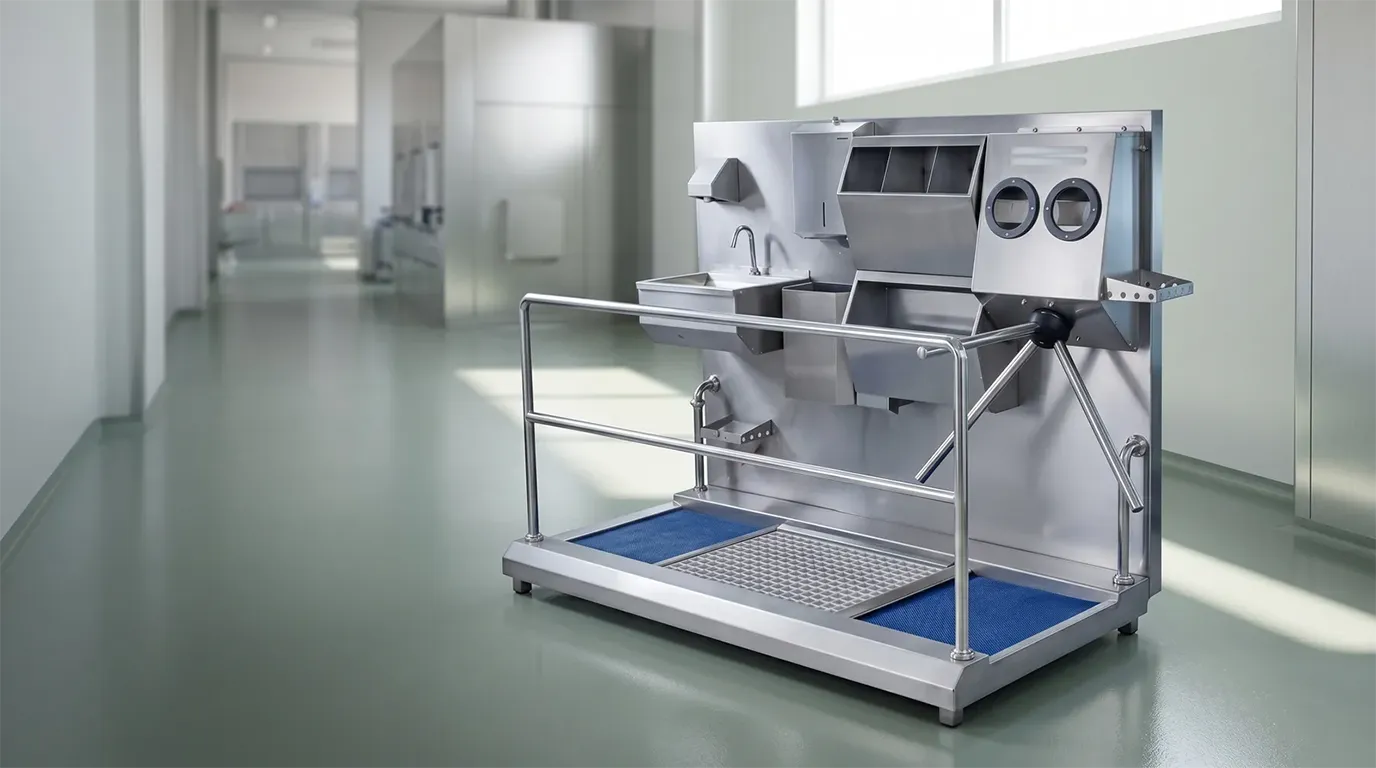
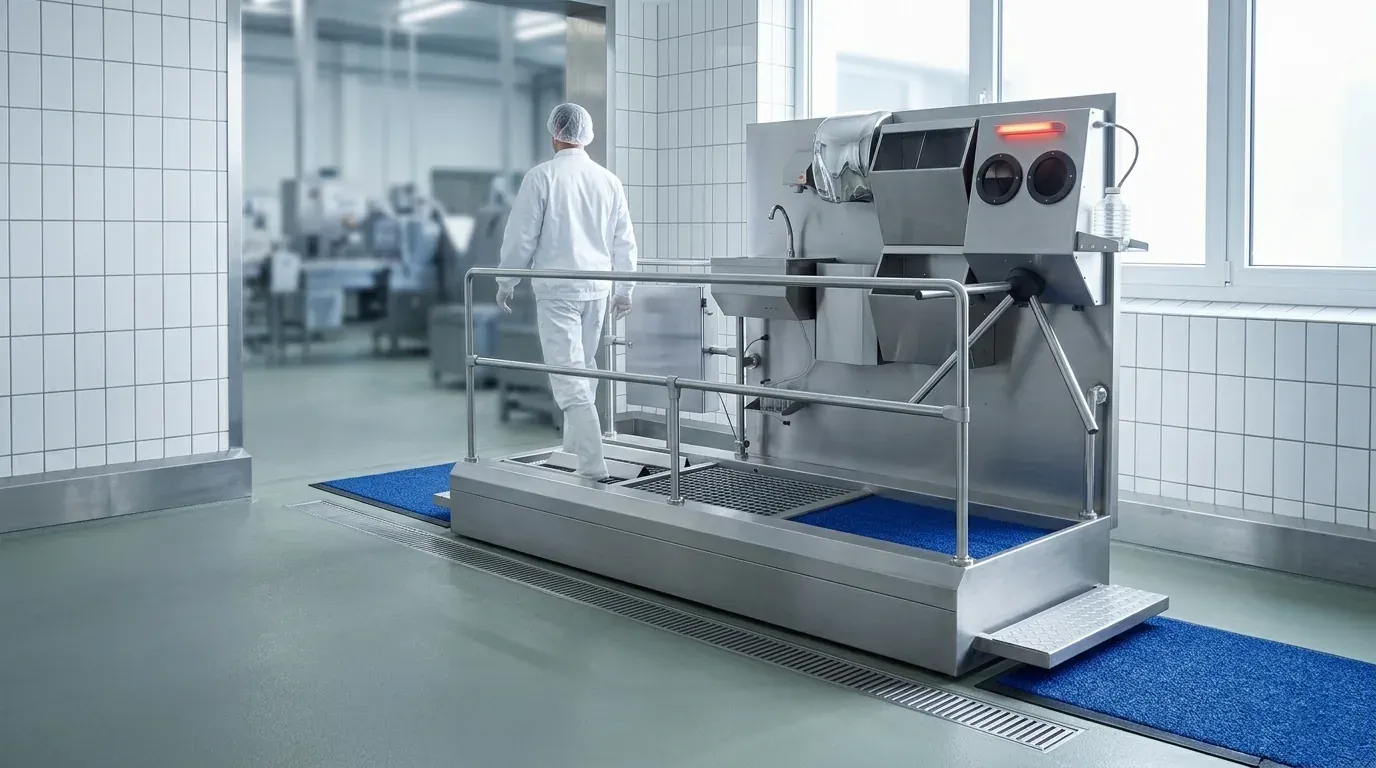
Stainless steel hygiene units are generally built with a plug & play approach; they arrive largely pre-assembled from the factory, and on site only the water, drain and electrical connections and the final adjustments remain. This means installation is not a construction job that takes weeks but an assembly job that, with the right preparation, can be completed in a day. To know in advance which components will arrive, it helps to review the unit’s components and operating logic.
For a unit with a washbasin, clean water + a drain + a 220 V supply is sufficient. Disinfection lines without a washbasin need only electricity and space. Most units stand on adjustable feet; anchoring to the floor is not mandatory.
Where is a hygiene barrier positioned on site?
A hygiene barrier is positioned at the single controlled passage point between the changing/dressing area and the production area. Personnel must pass through the unit after putting on their work clothes, just before entering production; if the unit sits outside this line, the effect of hygiene is lost on the way. The first thing to clarify before installation is the location of this passage point and the flow around it.
Positioning is the most critical design decision of the installation and must be resolved before assembly, because the water, drain and electrical infrastructure is routed to this point. The direction of personnel flow, door widths, the distance to existing utility lines and the avoidance of queues determine this decision. We cover all the details of location selection and a layout checklist in our where should a hygiene barrier be located article; here we focus on the site preparation once the location is set.
How do you prepare water and drainage for a hygiene barrier?
For units with a washbasin, it is sufficient to have a mains clean water connection and a floor drain near the point where the unit will be installed. The wastewater discharged from the unit is routed to the nearest floor drain; that is why the distance to the existing drain matters when choosing the unit’s location. If a new drain needs to be opened, completing that work before assembly speeds up the installation.
On the clean water side, mains pressure (typically around ~4 bar / 40 mWC in Türkiye) is generally sufficient to feed the photocell taps and dosing units. The solenoid valve inside sensor-operated taps is sensitive to particles such as sand, sediment and rust. For this reason, fitting a filtered intermediate shut-off valve at the inlet of the supply line is recommended for valve life and trouble-free operation. In regions with hard water, also bear in mind that limescale may build up over time.
Prepare the water inlet and drain connections before assembly; the electrical wiring is routed after them. Having water and drainage ready prevents the installation team from waiting on site and avoids delays in commissioning.
How much electricity does a hygiene barrier require?
A hygiene barrier runs on a standard single-phase mains connection; the typical supply is 220 V / 50 Hz. The sensor-operated tap, automatic-dosing disinfectant units, the turnstile control board and the counter (if fitted) are fed from this line. Total power consumption is low; the unit is not a heated appliance — it consists mostly of sensors, valves and small motors.
Routing an earthed socket or a fixed supply line to the installation point is sufficient; since a wet environment is involved, using a line protected from the panel by a residual current device (RCD) is the right approach for safety. Because the unit operates in an area where water is present, the unit and its connection fittings must have a suitable protection class; we explain what the equipment’s water and dust protection rating means in our IP69K and protection classes article.
What kind of floor does a hygiene barrier need?
For most hygiene barriers, a flat, solid, load-bearing floor is sufficient; anchoring the unit to the floor is generally not mandatory. Stainless steel units stand on height-adjustable stainless levelling feet. Thanks to these feet, the unit is levelled and stands stable despite small differences in floor level — which matters both for the washbasin to drain properly and for the turnstile to operate correctly.
Thanks to the plug-and-play approach, heavy breaking or construction work on the facility floor is mostly unnecessary. Still, pay attention to two points: the floor should be slightly sloped towards the drain so that wash water does not pool under the unit; and food facility floors should in any case be non-slip, washable and hygienic (epoxy, ceramic, etc.). In installations with high personnel traffic, or where extra security against tipping is required, the unit can be anchored to the floor through its adjustable feet.
How much space should be allocated for a hygiene barrier?
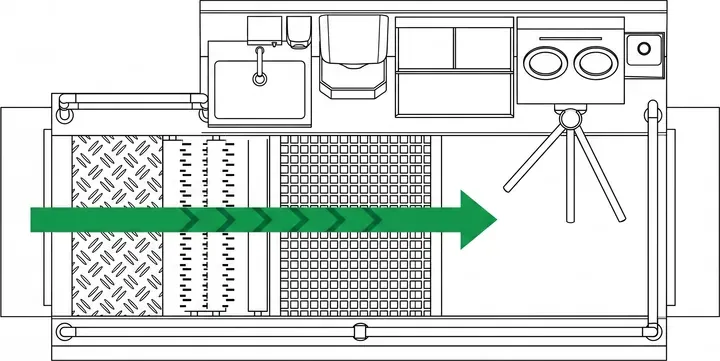
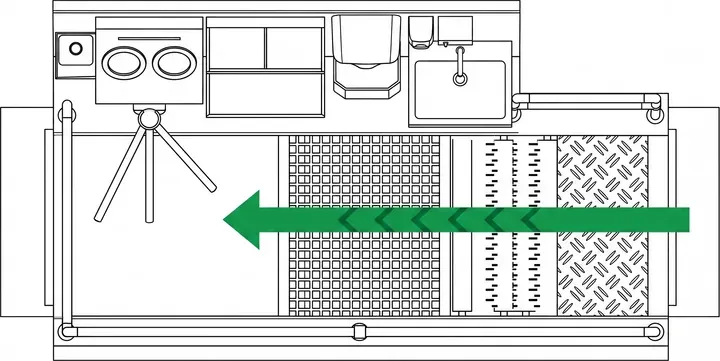
The space required depends on the length of the unit and the number of lanes (passages); that is why you should take the unit’s exact dimensions and mark them out on site before installation. When planning the space, account not only for the body of the unit but also for a waiting allowance in front of it for queuing personnel and a free corridor behind it for passage into the clean area.
The number of lanes is directly tied to personnel capacity: a single-lane turnstile typically lets through about 25–30 people per minute; if there is heavy flow at the start of a shift, a double-lane layout prevents queuing but demands more space. You can pin down how many lanes — and therefore how much space — your facility needs with the calculation in our what capacity of hygiene barrier do you need article.
Pre-assembly site preparation checklist
Completing the checklist below before the installation team arrives is the surest way to finish the installation in a single visit and without delay. Each item eliminates a common cause of on-site delay:
- 1Location approved — the passage point between the changing area and production has been set; flow direction and door widths confirmed.
- 2Dimensions marked out — the unit’s length/number of lanes marked on the floor; the waiting allowance in front and the corridor behind left clear.
- 3Clean water ready — the mains connection brought to the installation point; a filtered intermediate shut-off valve fitted (units with a washbasin).
- 4Drain ready — a floor drain exists or has been opened near the unit; the discharge distance checked.
- 5Electricity ready — an earthed, RCD-protected 220 V line routed to the installation point.
- 6Floor suitable — flat, solid, washable and sloped towards the drain; verified that no pooling will occur.
- 7Access clear — the route along which the unit will be carried onto the site (door/corridor widths) suits the unit’s passage.
A good installation is won not on assembly day, but on the preparation day when water, drainage and power are routed to the right point.
How is a hygiene barrier assembled?
Once the site is ready, assembly is a short and orderly process. The unit is placed in position and levelled with the adjustable feet, then the water, drain and electrical connections are made and all functions are tested. The typical steps are:
- 1The unit is placed in the marked position and levelled with the adjustable feet (using a spirit level).
- 2The clean water connection is made; the washbasin discharge is routed to the floor drain.
- 3The electrical connection is made and the line is energised through earthing/residual current protection.
- 4The soap, disinfectant and towel reservoirs are installed; the dosing units are primed with the first fill.
- 5All functions are tested: the sensor-operated tap, disinfectant dosing, turnstile lock and (if fitted) the counter are verified to be working.
- 6Water tightness and the turnstile’s one-way lock are checked; fine adjustments are made if needed.
Once installation is complete, the unit’s long service life and trouble-free operation depend on correct use and routine maintenance. We have listed the maintenance steps — covering the cleaning of stainless surfaces, reservoir refills and sensor checks — in our hygiene barrier maintenance and cleaning article.
Conclusion
Hygiene barrier installation is not a difficult job when the site is prepared correctly: with the location chosen well and clean water, a drain and a 220 V supply routed to the installation point in advance, plug-and-play units are assembled and commissioned in a short time. On lines without a washbasin the job gets even simpler — electricity and space are all it takes. By following the checklist above, you can complete assembly day in a single visit and without delay. You can contact us to clarify together the configuration and installation requirements that suit your facility’s flow and entrance.
Frequently asked questions
Does hygiene barrier installation require breaking the floor?
In most cases, no. Stainless steel units are delivered plug-and-play on adjustable feet and can be placed on a flat, solid floor without anchoring. If a new drain needs to be opened, there may be limited plumbing work at that point; the unit itself requires no heavy construction.
Are water and a drain required for a hygiene turnstile without a washbasin?
No. A line consisting only of hand disinfection and a turnstile needs no clean water or drain; an electrical connection and a space for the unit are all that is required. Water and a drain are needed only in configurations that include a hand washing washbasin.
How much electricity does a hygiene barrier need?
The typical supply is a standard single-phase 220 V / 50 Hz line, and total power consumption is low. Routing an earthed line — preferably protected by a residual current device (RCD) — to the installation point is sufficient; since the unit contains no heater, it does not require a high-power supply.
Is any extra hardware needed for the water connection?
Mains pressure (typically ~4 bar) is generally sufficient to feed the taps. To protect the solenoid valve of the sensor-operated taps from sediment and rust, fitting a filtered intermediate shut-off valve at the supply inlet is recommended. In regions with hard water, periodic descaling should also be planned.
How long does installation take?
If the site preparation (location, water, drain, electricity) has been completed in advance, assembly is usually finished within the same day: the unit is placed, levelled, connected and all functions are tested. The main factor that stretches the timeline is not the assembly but incomplete utility preparation.
Is the unit tested after installation?
Yes. After installation, all functions — including the sensor-operated tap, disinfectant dosing, turnstile lock and the counter (if fitted) — are tested on site; water tightness and the turnstile’s one-way lock are verified, and fine adjustments are made if needed.